GitHub Repository
Times are changing, so I started a new repository, called render_comparison on GitHub.
A Short History
Before the year 2000 my rendering research was purely a hobby, but the main idea was to get hold of as many renderers I could and render as many images as I was able to. There was no science in it, just joy to learn about rendering and what was available at that time.
In 2000 I made a big decision. I left my well paid job and started to work for Ton Roosendaal, or better for his company, NaN (Not a Number), in the Netherlands. During that time I wrote a lot of Python scripts to import and export data into/from Blender. This was also the first time I worked from home (as many of you are currently forced to do). First home was in Berlin, Germany, every 6 weeks I travelled to Amsterdam or Eindhoven, then I moved my home to London, UK, until NaN went bancrupt and I had to find a new job.
From that time on rendering research (or research in general) was my job (or at least part of my job). I worked for Moving Picture Company, Mill Film, the former film department of The Mill, both in London. Then I moved to Greater Los Angeles, USA, and worked for Digital Domain and mental images (later part of Nvidia). I moved back to Berlin (still working for Nvidia), to London (back to The Mill), and finally back to Berlin.
In the meantime rendering moved away from REYES (e.g. early RenderMan by Pixar), or pure ray tracing (e.g. mental ray by mental images), towards (uni-directional) path tracing (e.g. Arnold by Solid Angle, now Autodesk) and/or other global illumination techniques. If you want to learn about those, the best advice I can give you is to read the PBRT book (since October 2018 the full text is available for free in an online edition). The C++ code and my own Rust implementation is there to learn from …
Back to the Repository
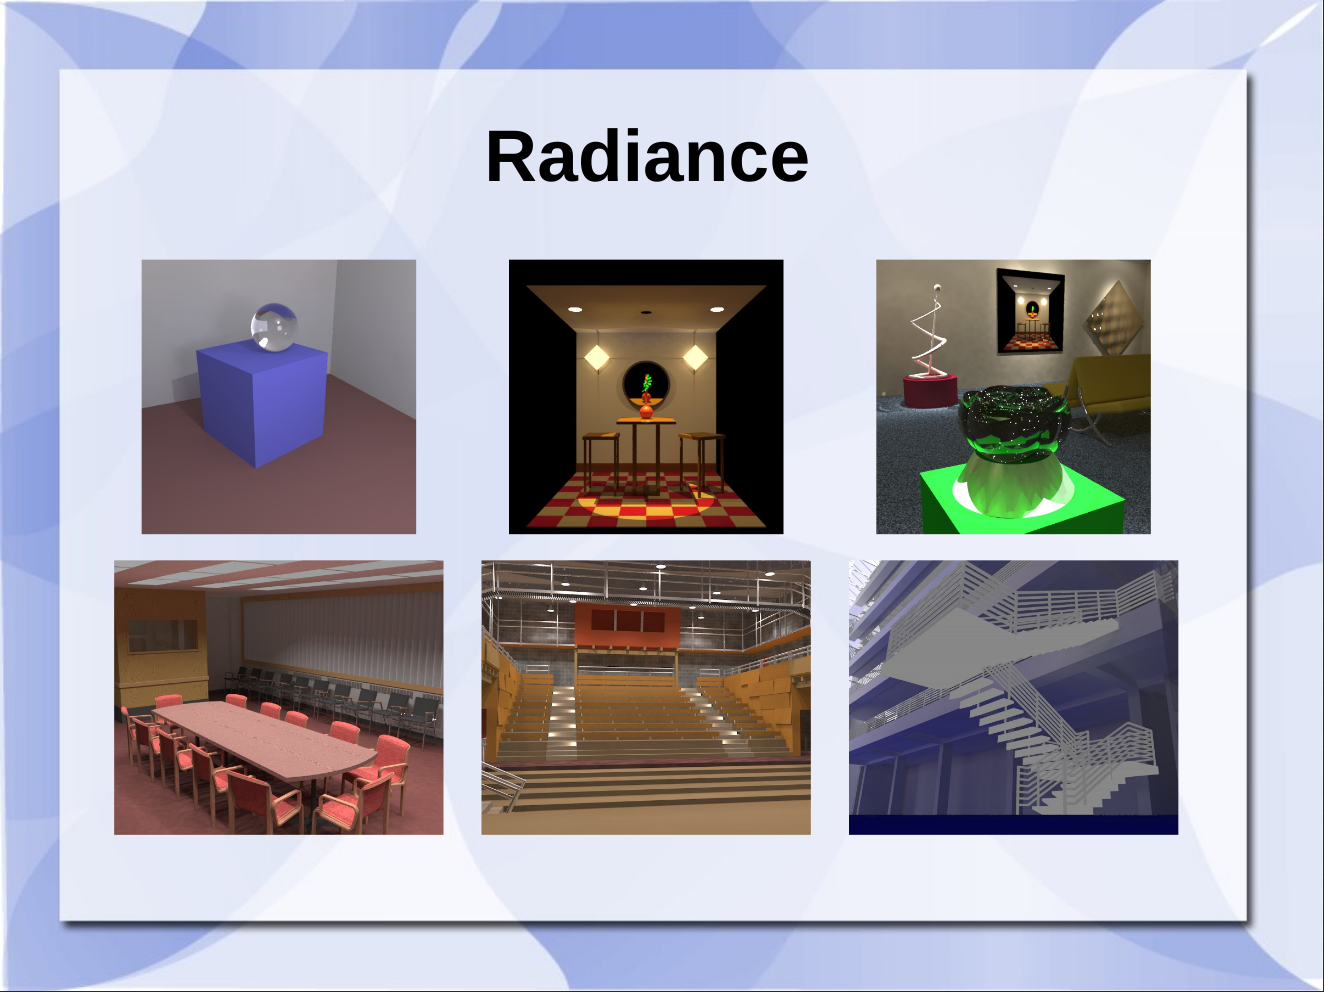
I went through several phases and some are still online, others are lost in time and space. Lets forget about the time before global illumination (it’s still worth to study and have knowledge about it). One approach was to start with Radiance (images taken from my own slides):
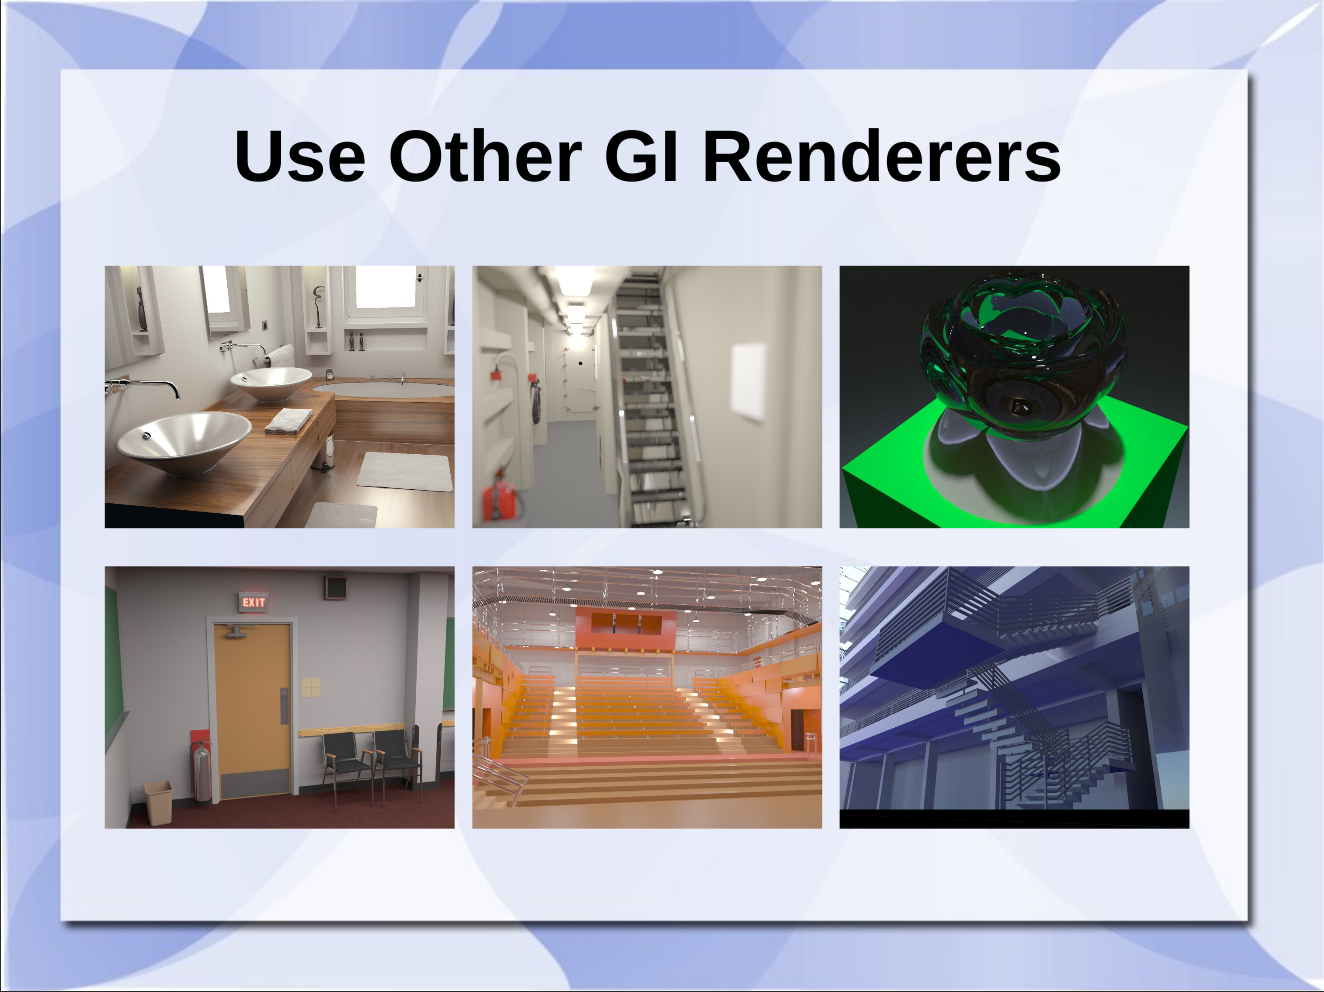
And somehow go from there to other global illumination (GI) renderers:
Traces of this approach can be found here:
- Radiance vs. YouNameIt
- export_multi
- rs-pbrt-test-scenes
- download section of this web page
Now, let’s dig into the new repository by looking at one of the simplest scenes to start with.
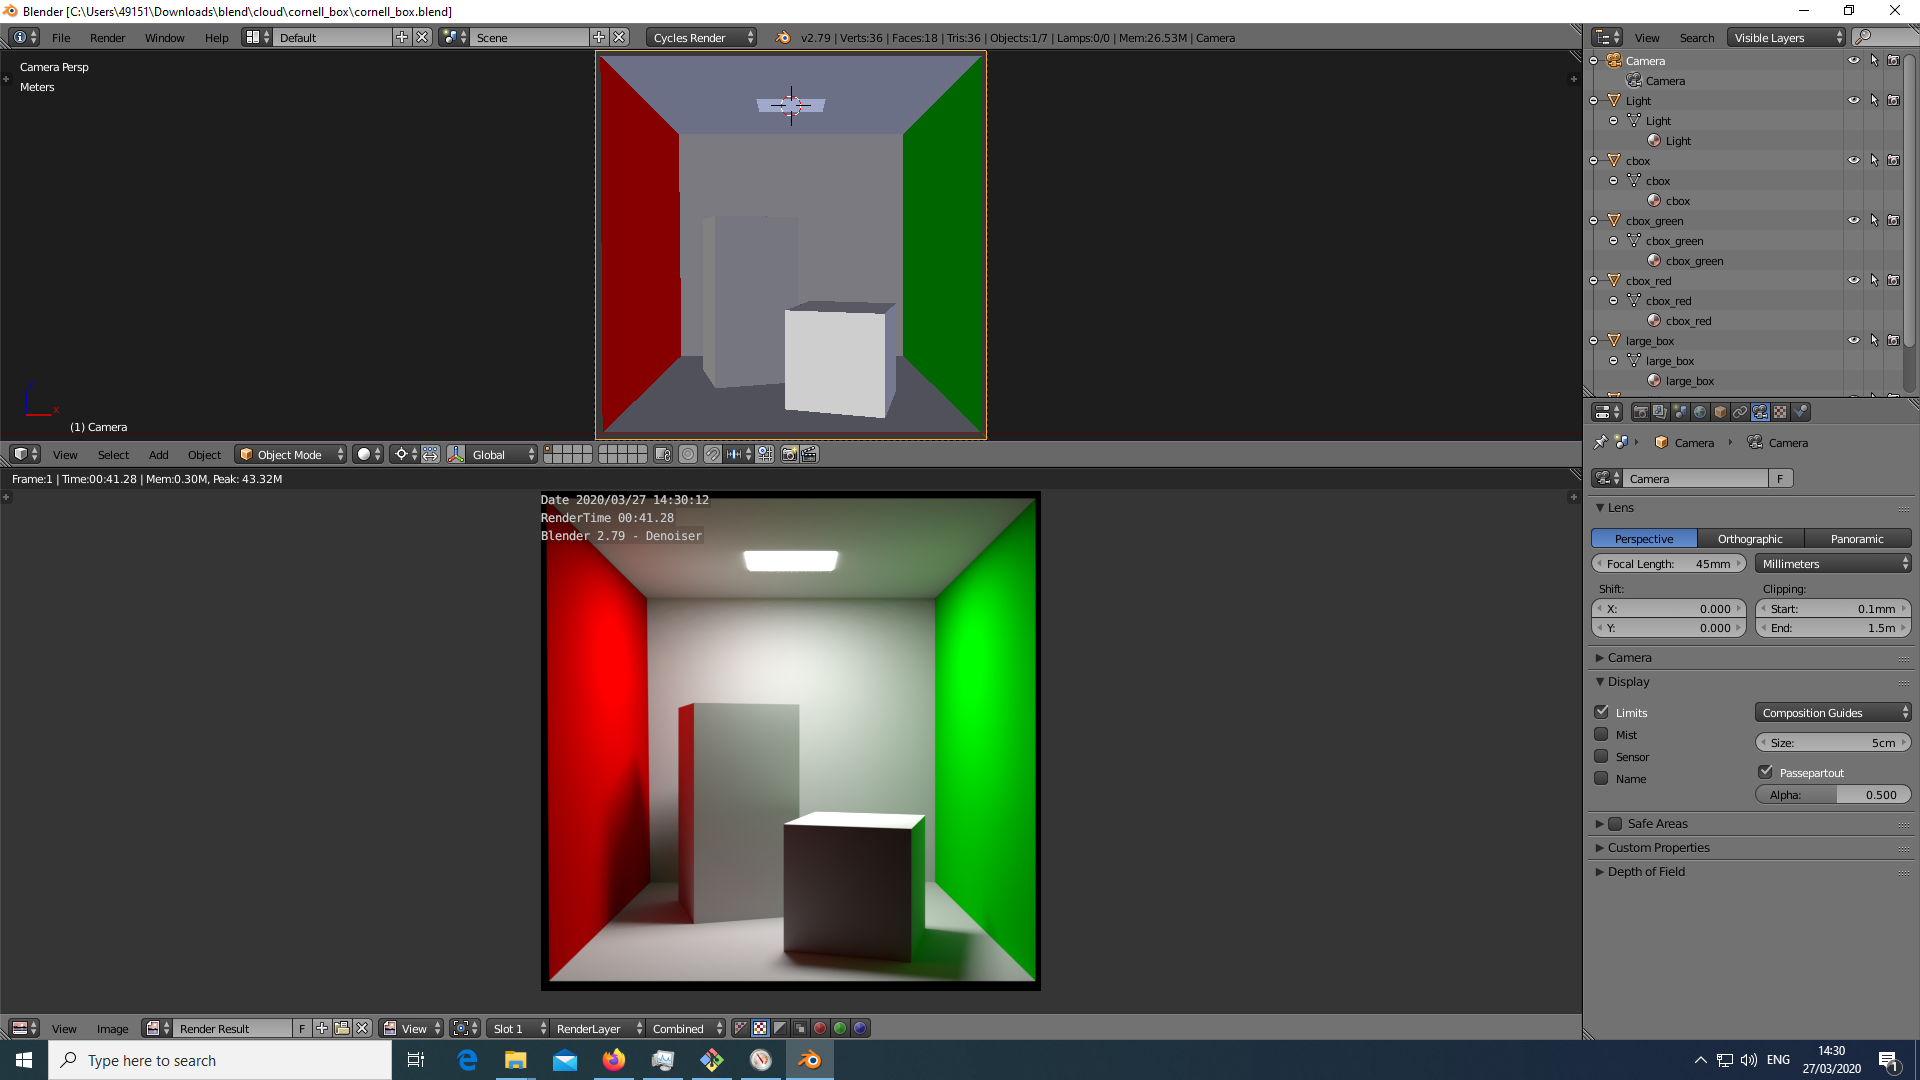
The Cornell Box
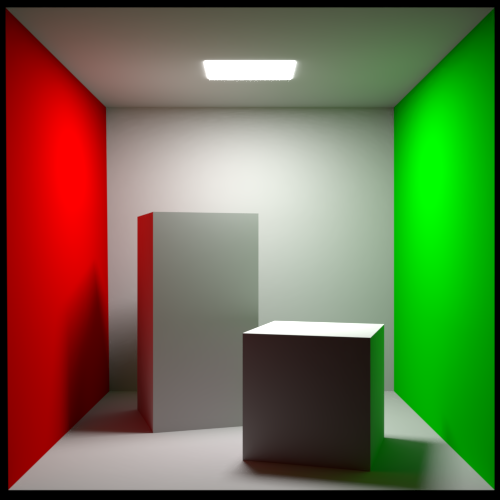
Blender
Cycles (free)
Just load the provided scene (cornell_box/blend/cornell_box.blend
from the repository) and press F12. The
screenshot below shows Blender version 2.79, but higher Blender
versions should work as well:
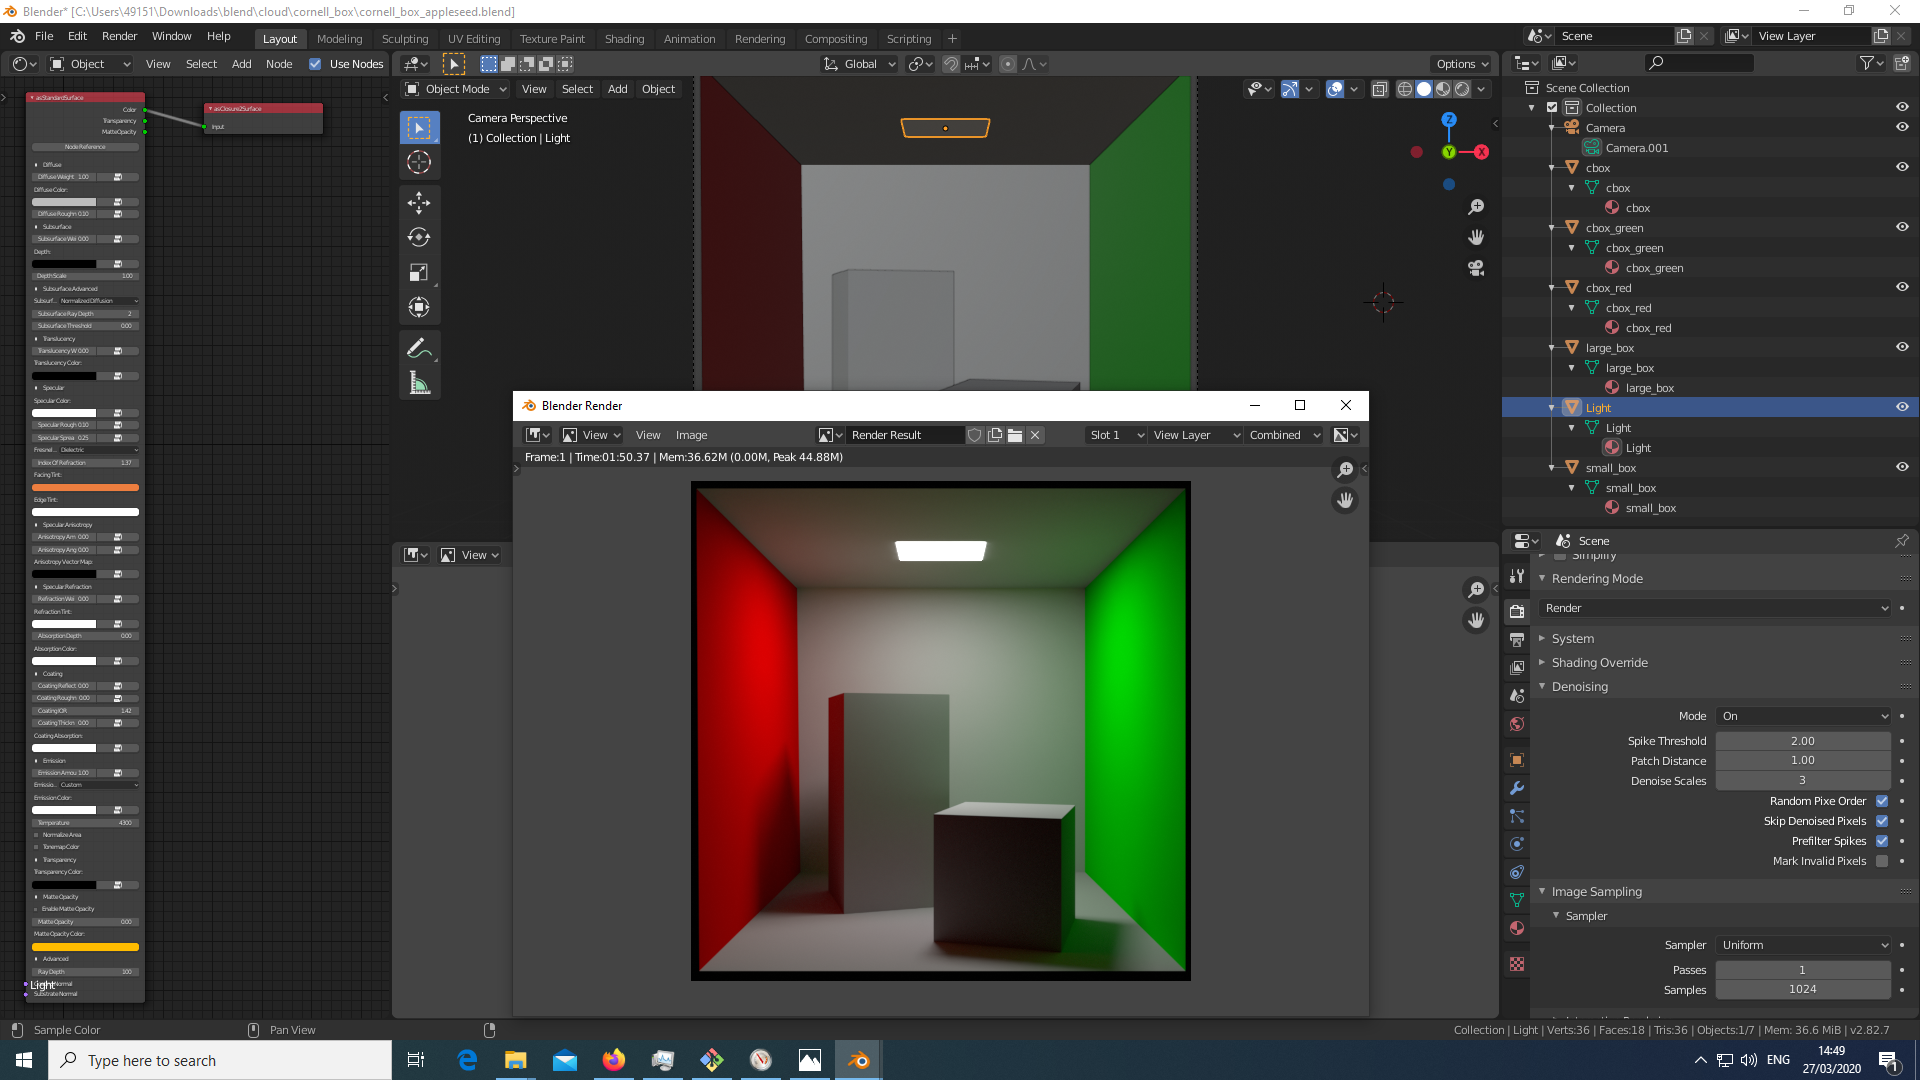
appleseed (free)
After installing blenderseed and selecting appleseed
as your Render Engine you should be able to just press F12 to
render:
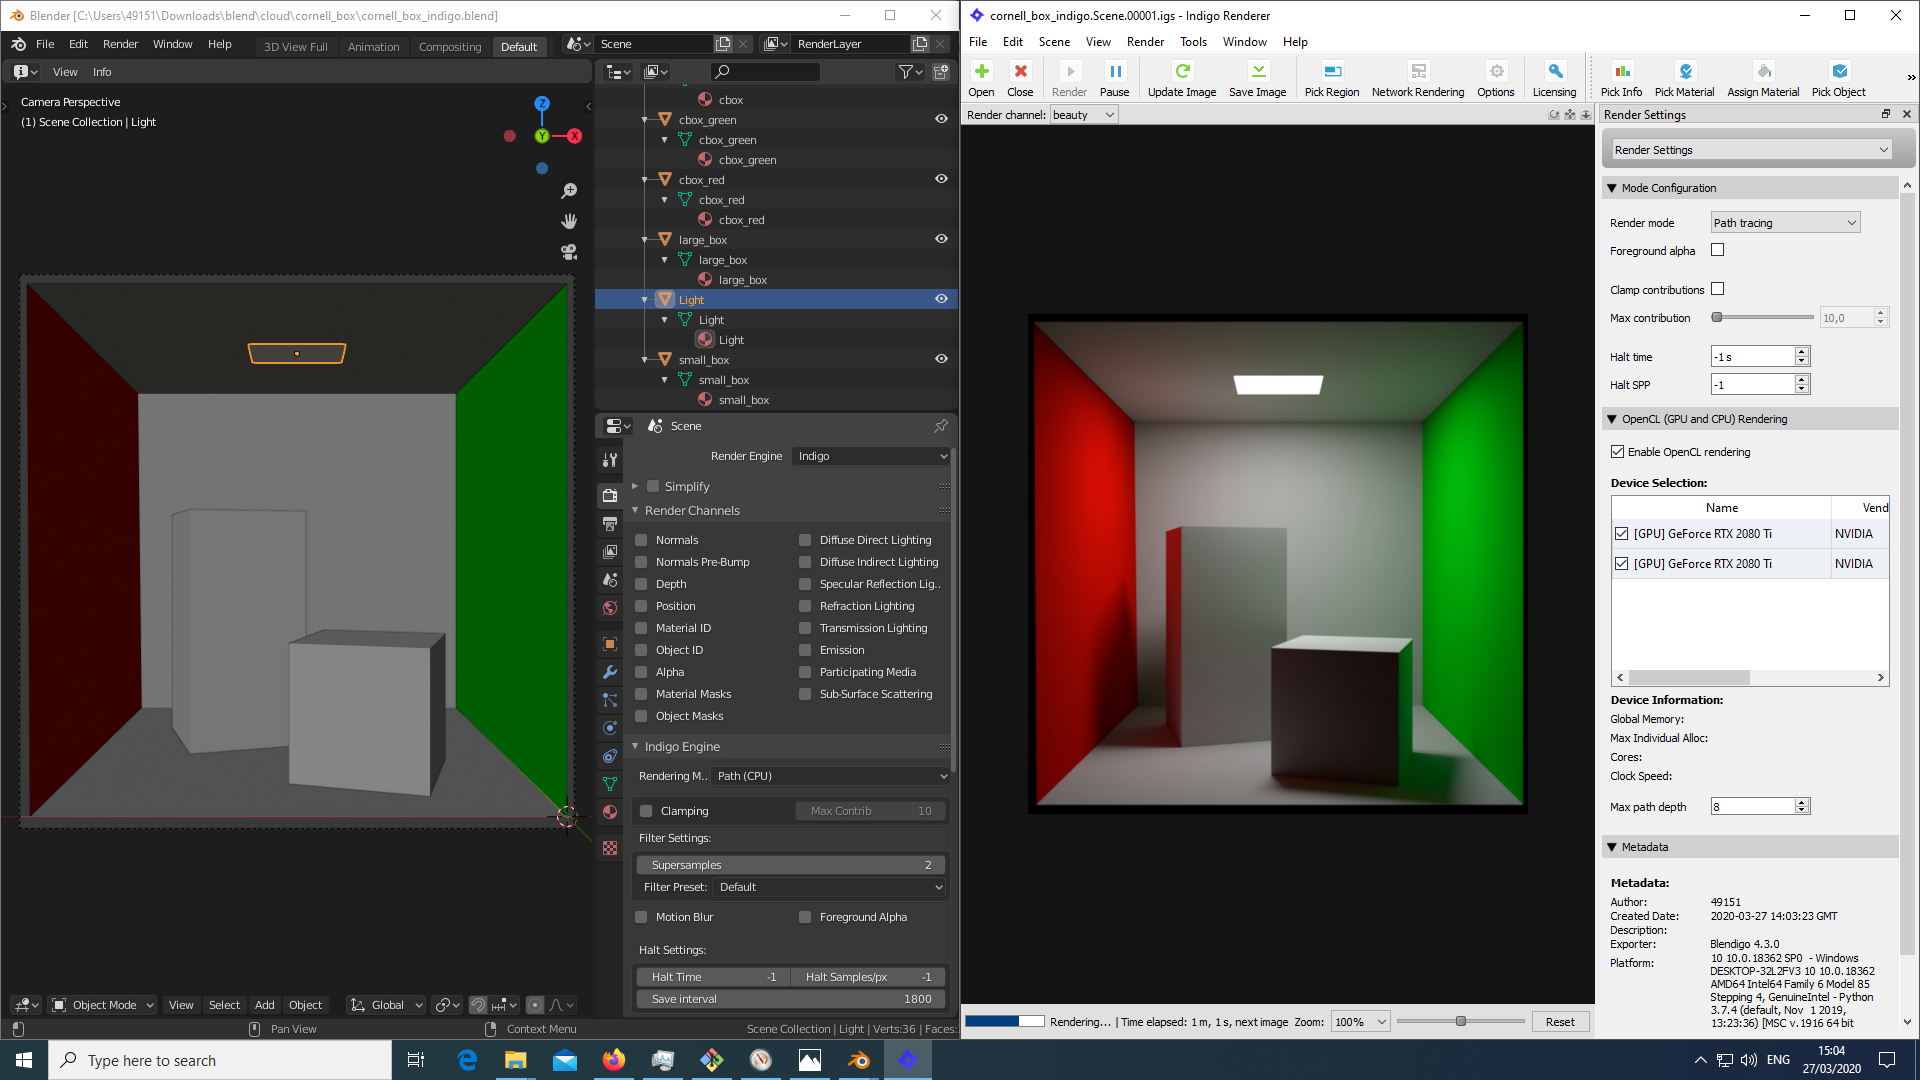
Indigo Renderer (commercial)
After installing Blendigo and selecting Indigo
as your Render Engine you should be able to just press F12 to
render:
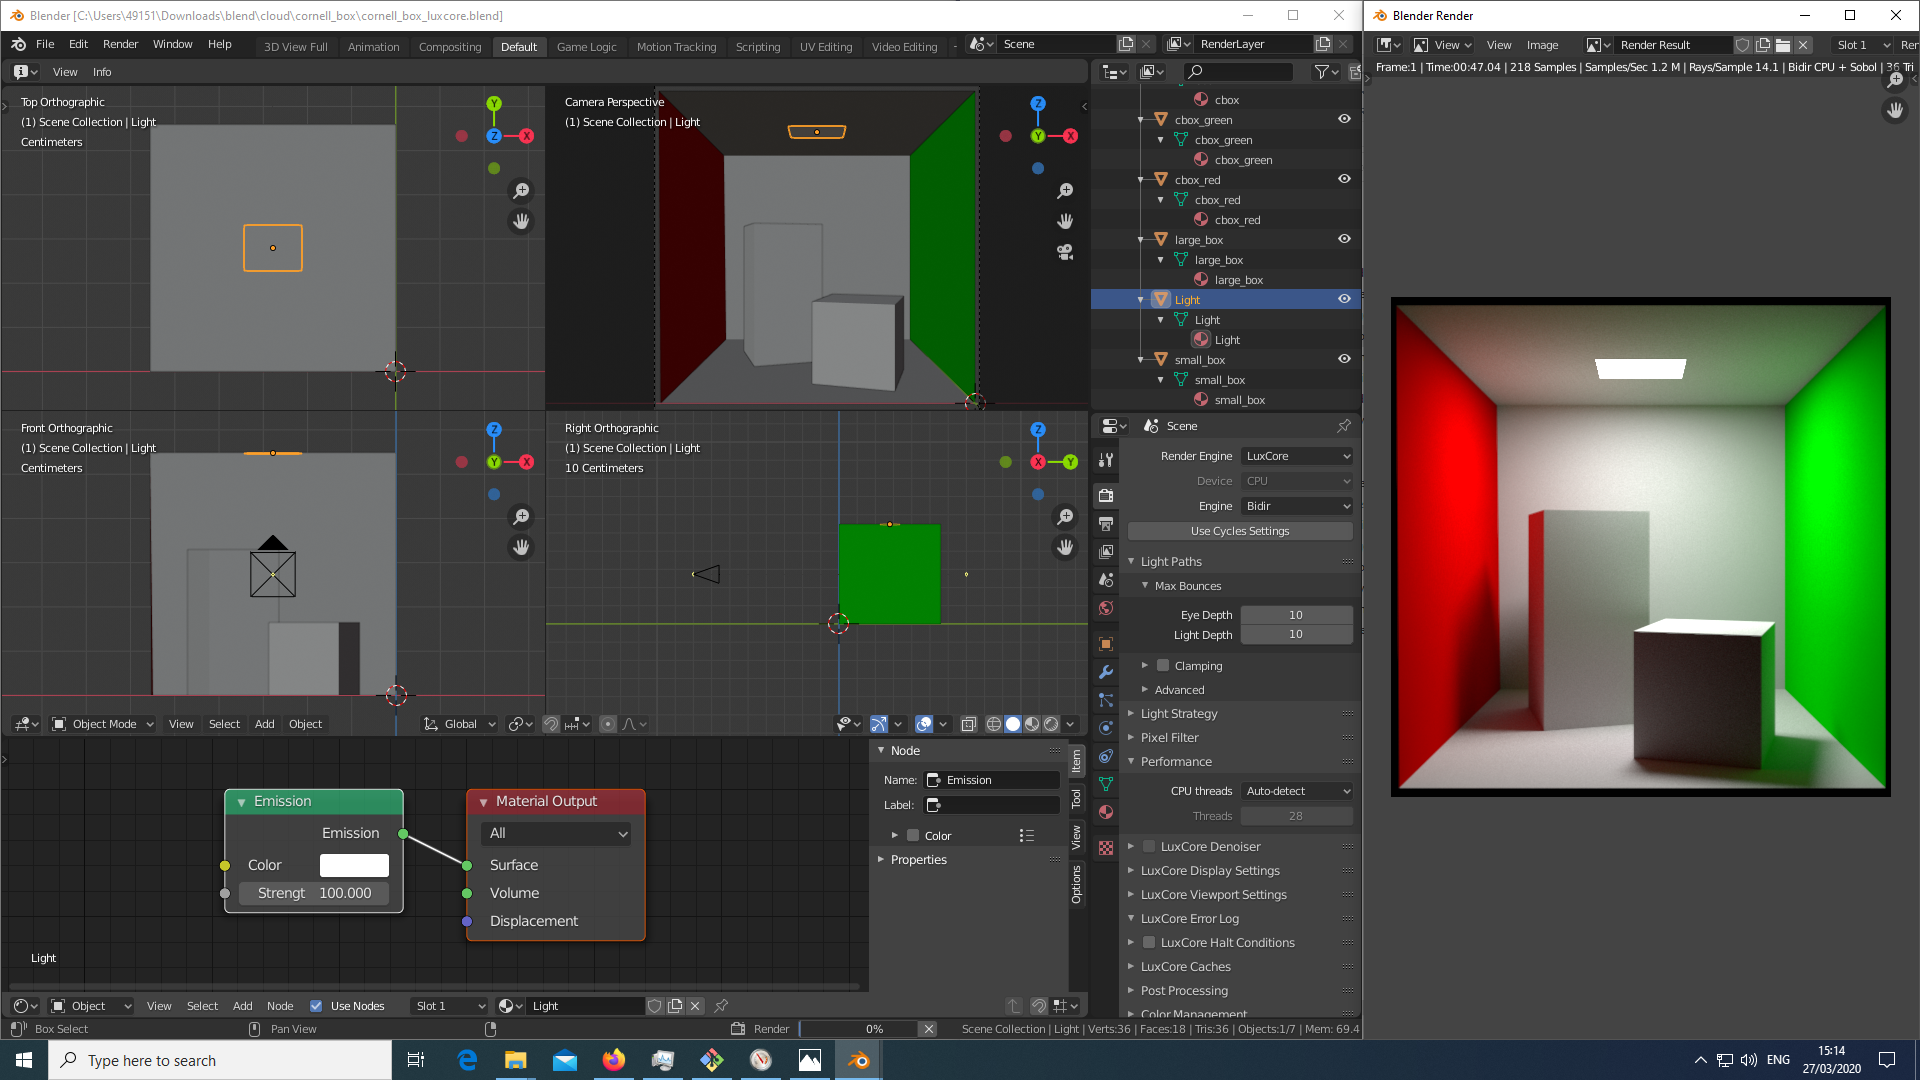
LuxCoreRender (free)
After installing BlendLuxCore and selecting LuxCore
as your Render Engine you should be able to just press F12 to
render:
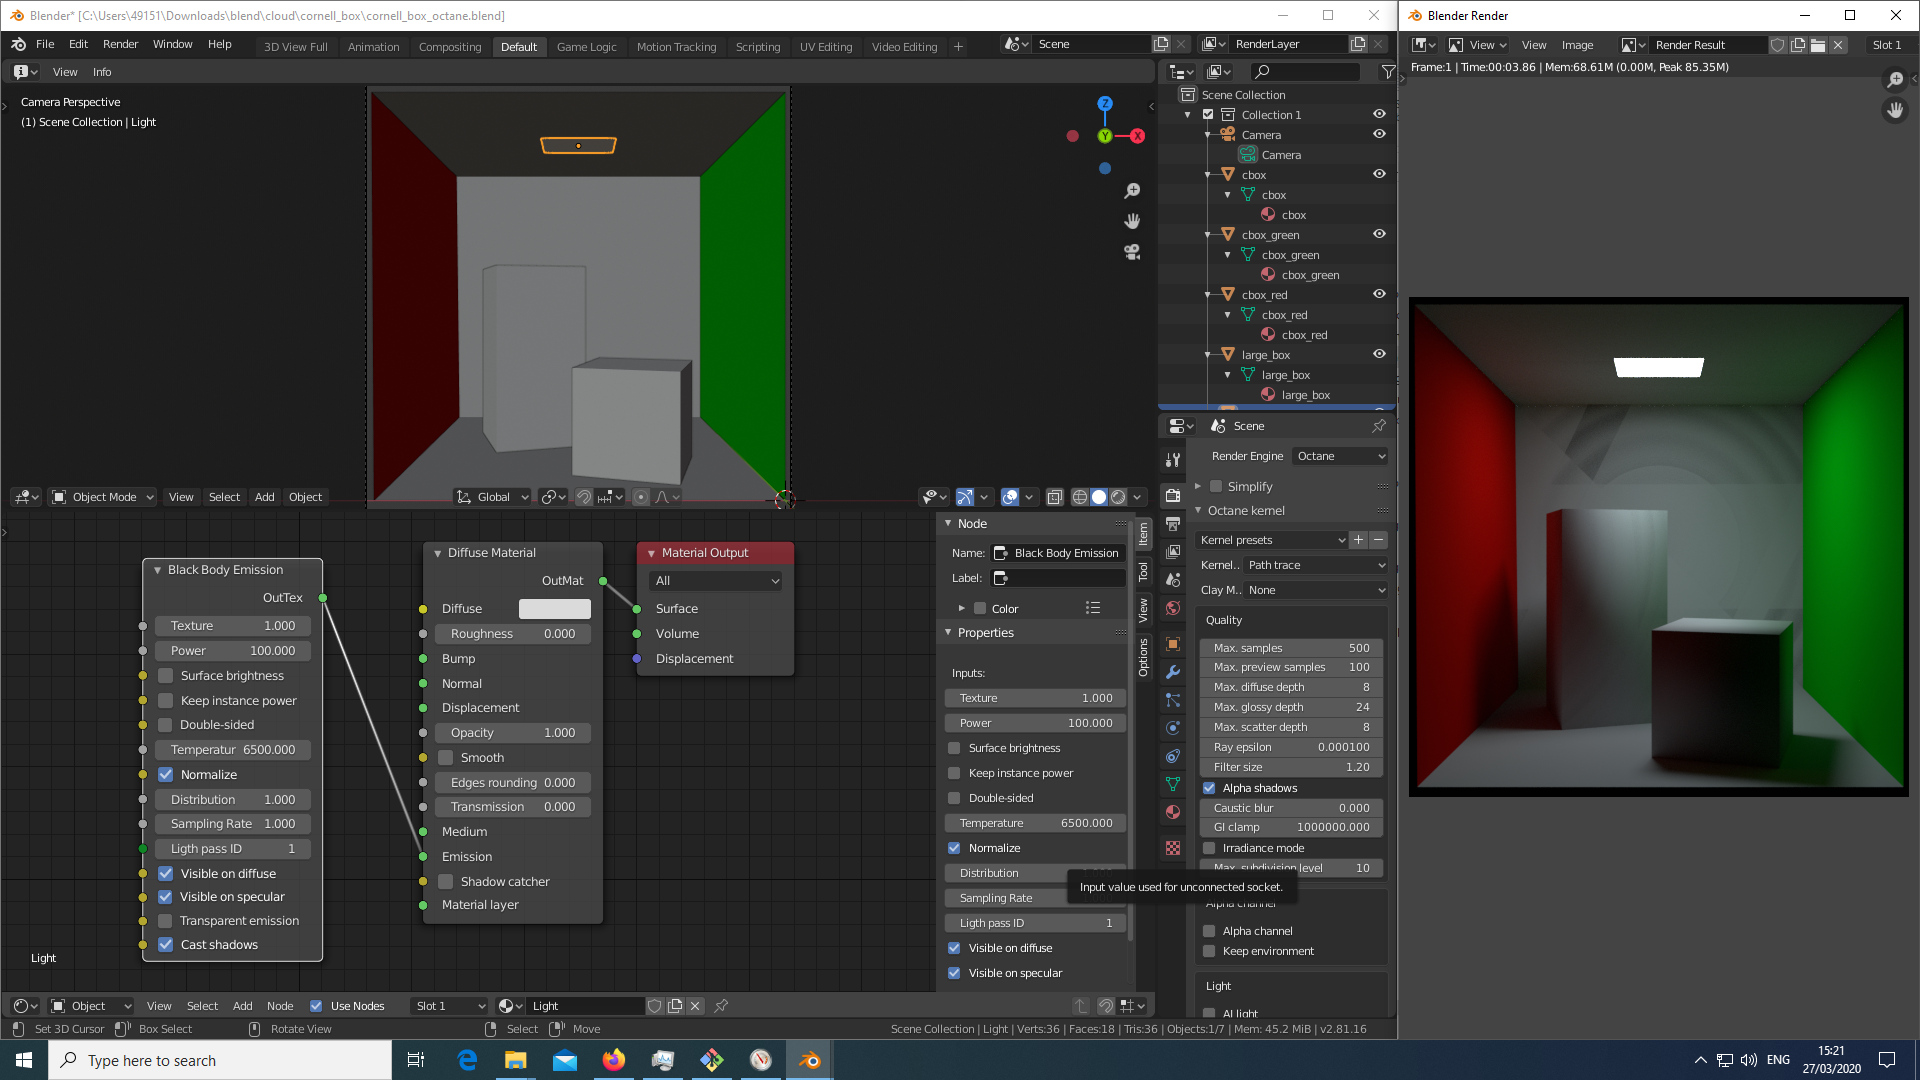
OctaneRender (commercial)
There is a OctaneRender for Blender plugin. Windows version only. The
download links provided (on their user forum) are for Enterprise
License Holders. For me that wasn’t really a plug-in (or addon as
they call it in Blender world), but rather a specially compiled
Blender v2.81 with Octane (Render Engine) support (press F12).
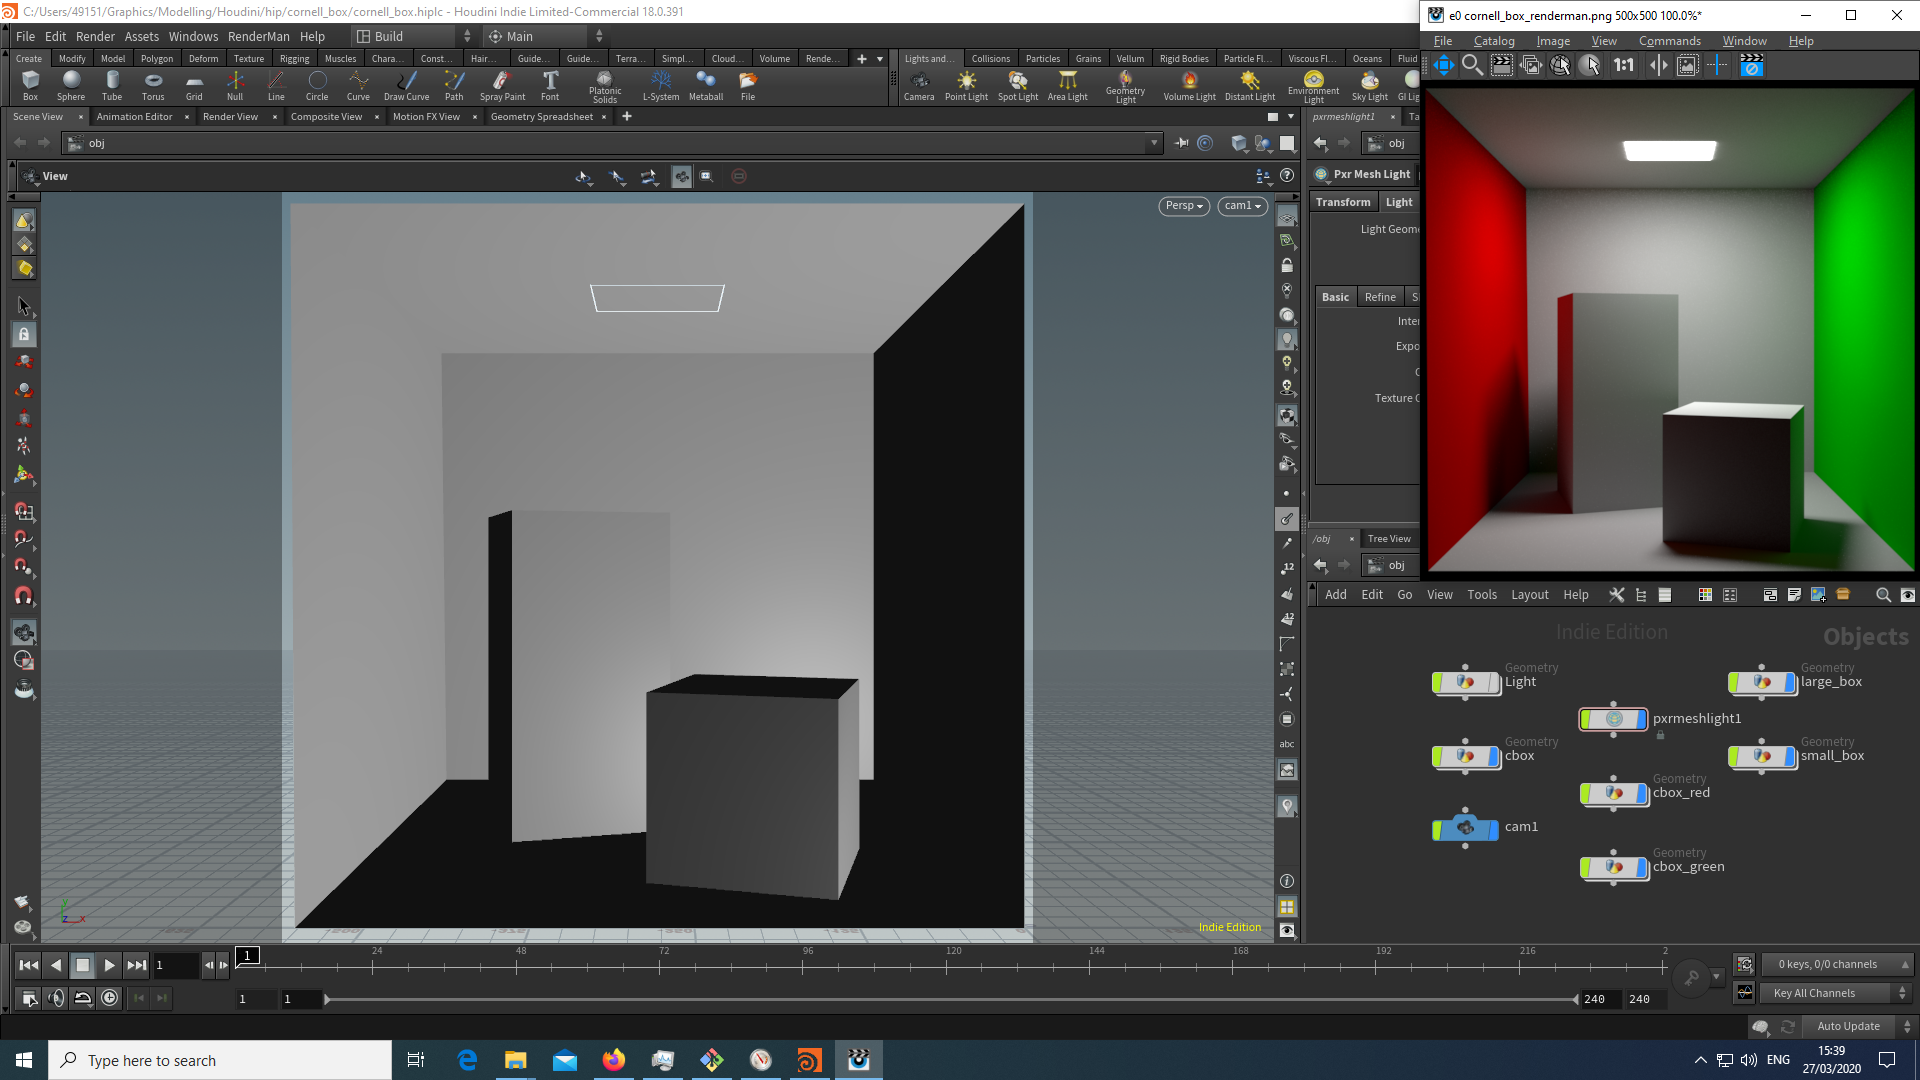
Houdini
Even though there was a RenderManForBlender addon, it looks like it’s kind of abandoned, therefore I went down a different route and you need a Houdini Indie license for rendering e.g. with Pixars RenderMan (PRMan).
RenderMan (commercial)
There is a non-commercial RenderMan version which works with Houdini (Indie):
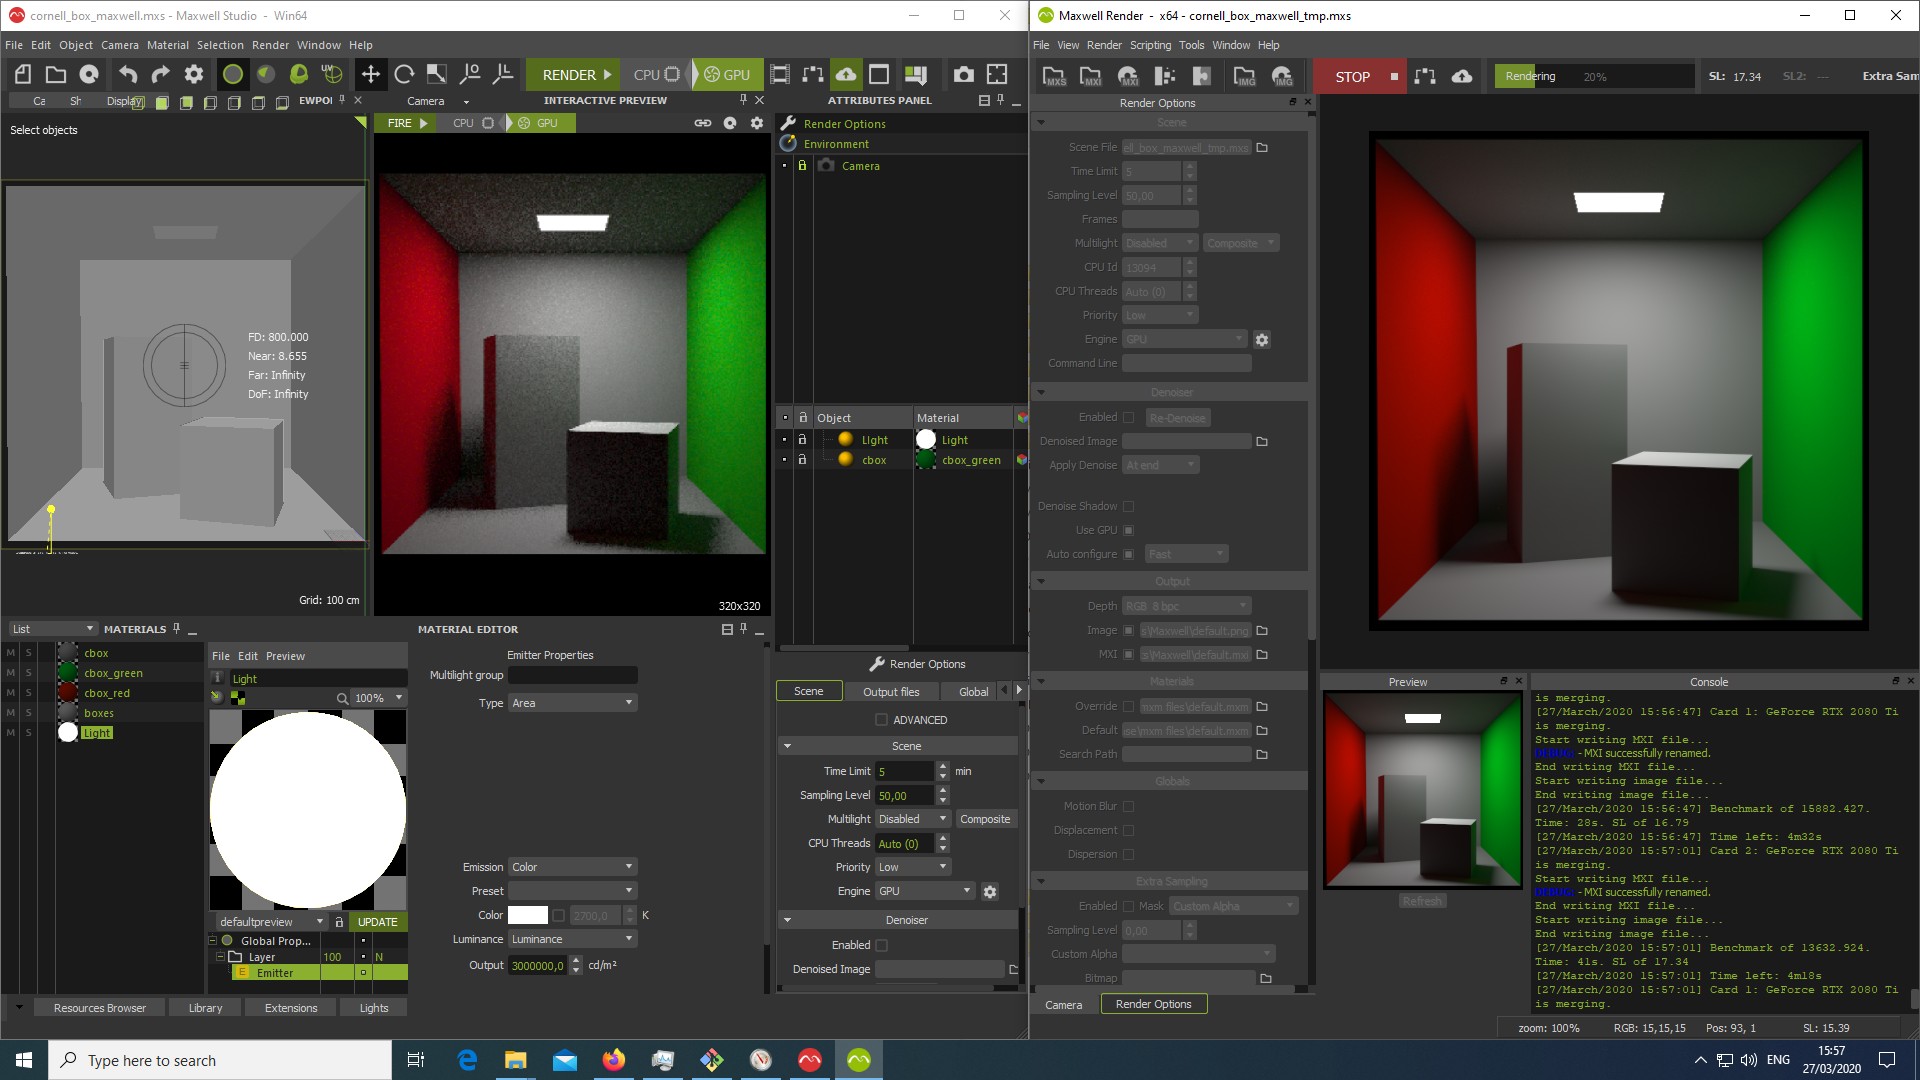
Standalone
Maxwell (commercial)
For Maxwell you need a commercial license (at least that’s what I got). On the left you see Maxwell Studio, on the right Maxwell Render, both using two GeForce RTX 2080 Ti cards for rendering.
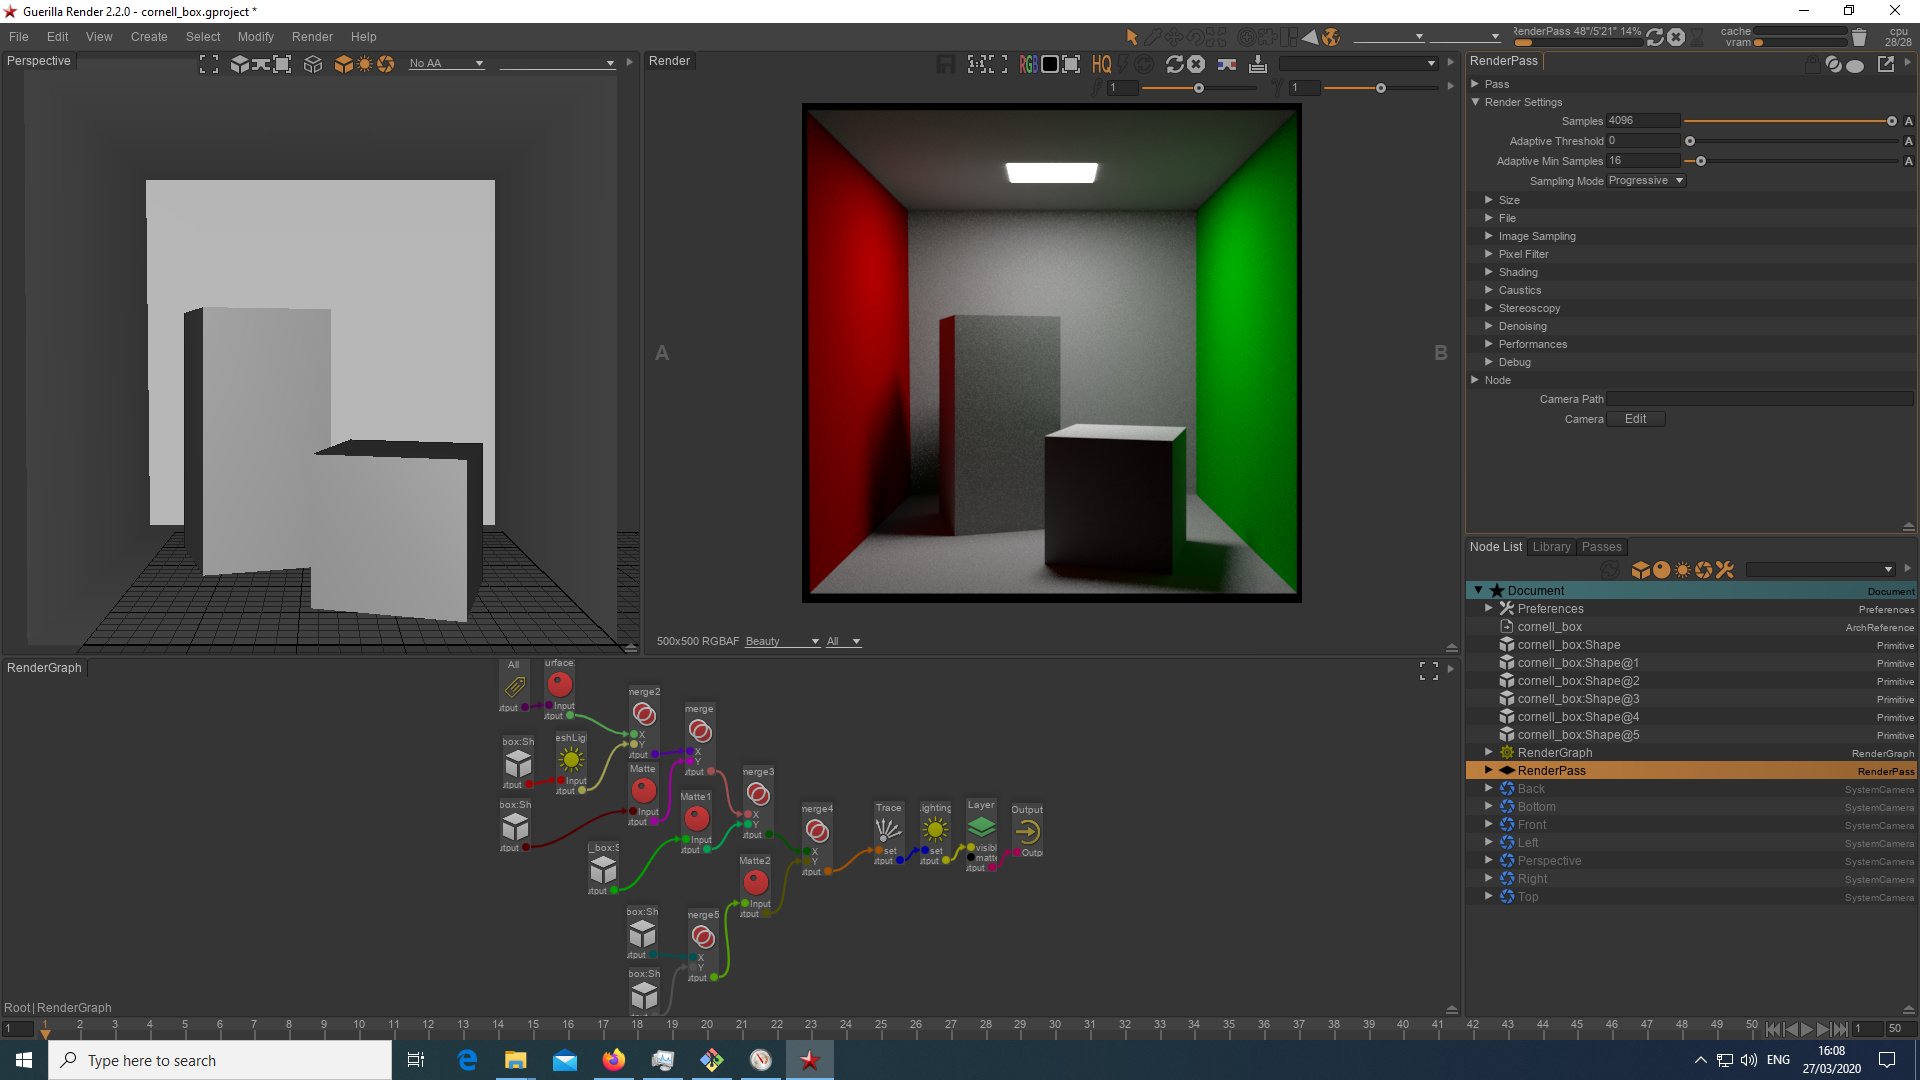
Guerilla Render (commercial)
Even though the Guerilla Render is a commercial product you can get an unlimited license for free to discover its features.
PBRT (free)
For PBRT you have to build the renderer yourself by compiling it
from sources (either follow the instructions for the C++
code or follow the instructions for Rust on the getting
started with rs-pbrt page). After that you can
render like this:
$ cd cornell_box/pbrt
# C++
$ ~/builds/pbrt/release/pbrt cornell_box.pbrt
pbrt version 3 (built Apr  1 2019 at 17:45:44) [Detected 28 cores]
Copyright (c)1998-2018 Matt Pharr, Greg Humphreys, and Wenzel Jakob.
The source code to pbrt (but *not* the book contents) is covered by the BSD License.
See the file LICENSE.txt for the conditions of the license.
...
$ display -gamma 2.2 pbrt.exr
# Rust
$ ~/git/github/rs_pbrt/target/release/rs_pbrt cornell_box.pbrt
pbrt version 0.8.1 [Detected 28 cores]
Copyright (c) 2016-2020 Jan Douglas Bert Walter.
Rust code based on C++ code by Matt Pharr, Greg Humphreys, and Wenzel Jakob.
...
$ display pbrt.png
A little known fact is that I do provide two executables which allow
you to render with rs-pbrt and Arnold (see Blender to
Arnold blog):
# rs-pbrt
# -s, --samples <samples> pixel samples [default: 1]
# -i, --integrator <integrator>
#     ao, directlighting, whitted, path, bdpt, mlt, sppm, volpath
$ ./target/release/examples/parse_blend_file -s 16 -i path cornell_box.blend
$ display pbrt.png
The --integrator <integrator> option allows to render with:
ao- Ambient Occlusion (AO)directlighting- Direct Lightingwhitted- Whitted’s Ray-Tracingpath- (Unidirectional) Path Tracingbdpt- Bidirectional Path Tracing (BDPT)mlt- Metropolis Light Transport (MLT)sppm- Stochastic Progressive Photon Mapping (SPPM)volpath- Path Tracing (Participating Media)
The parse_blend_file should work on every non-renderer-specific
.blend file I provide in the repository, but
not on every .blend file in general. The Arnold version
is not ready for public consumption yet and there is a
Arnold-For-Blender on the horizon.
