 Rendering with Radiance
The Art and Science of Lighting Visualization
Jan Walter
Baerwaldstr. 17
D-10961 Berlin
Germany
http://www.janwalter.com
http://www.linkedin.com/in/janwalter
Q: What is Radiance?
A: Instead of describing in my own words what Radiance
is, let me provide the
information, where to
find it, and which documents or
which book
you should read.
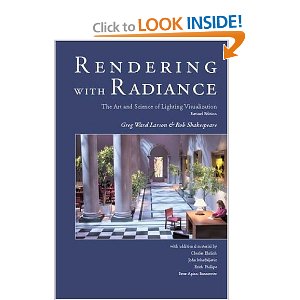
Rendering with Radiance
By Greg Ward Larson and Rob A. Shakespeare,
with contributions from Peter Apian-Bennewitz,
Charles Ehrlich, John Mardaljevic, and Erich Phillips
Copyright © 1998 by Morgan Kaufmann Publishers
You can order the book
e.g. via Amazon,
but to get started you might just want to
download
and install the software to start
experimenting with it. There are pre-compiled
executables for Mac OS X, but I didn't have
a problem to compile them myself from the
source code provided there (same for Linux).
Q: Why Radiance vs. YouNameIt?
A: It's basically a comparison of Radiance with other renderers which are able to render a scene with global illumination (GI). Radiance is around for a long time but still can be used to describe a scene and accurately simulate how incoming light (e.g. from the sun and other light sources) will illuminate it. You will also realize that there wouldn't be HDR imaging (HDRI) around without this renderer and people who discovered it's usefulness. The HDRI Handbook was written by a friend of mine and is available in several languages.
Q: What can we learn here?
A: First of all about rendering in general, but more from a user perspective (in contrast to teaching you how to write your own renderer). I will also provide little tools for reading the Radiance scene description for some simple examples (scenes shipping with the book) and to convert them into other scene descriptions (either to bring them into a modelling system, or to convert directly to a file which can be rendered with another renderer).
From the Radiance book web site you can download chapter 1 as a PDF file and there are also several compressed files (scene[0-2].tar.Z) which contain the three scenes I will talk about. Please read and compare with chapter 1.3 (called 'Scene 0 Tutorial').
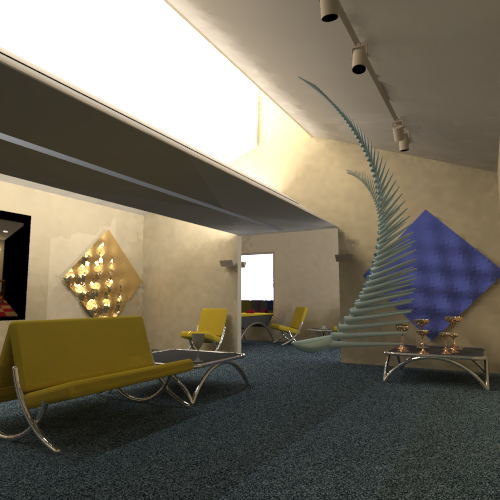
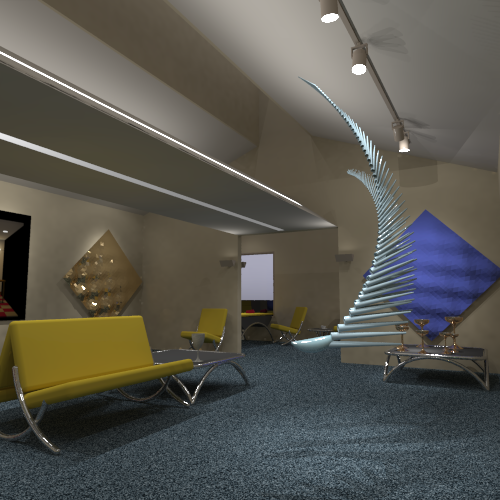
As you can see in the screenshot above I do use Houdini from Side Effect Software as one of the modelling systems to experiment with alternative renderers. But let's first focus on some commands and images described in the tutorial above.
% oconv room0.rad > test.oct
% alias rview /usr/local/bin/rview
% rview -vp 2.25 .375 1 -vd -.25 .125 -.125 -av .5 .5 .5 test.oct

The scene isn't that impressive yet, but let's shortly describe what's going on. The first command takes the scene description and converts it to an octree (an acceleration structure for the renderer). The second command isn't really necessary if your system finds the command rview, which comes with the Radiance installation, first. Unfortunately on my computer it finds a command with the same name first, which actually starts Vim. The interesting bit of the third command, which starts an interactive viewer, is that the scene description itself does not contain a camera. So your view point (option vp) and the view direction (option vd) are specified via the command line (or will be read via a file). The tutorial in the book actually has some more intermediate steps but I will omit them here. Basically it explains the usage of genbox, a generator program to create a simple box, adds two boxes to the scene (the inner box acts as a table, the outer box as the room we are in), adds a rod to connect the light source to the ceiling, changes materials and re-renders a couple of times by re-creating the octree and starting the interactive viewer. The following example reads the view point and direction from a file:
% oconv room3.rad > test.oct
% rview -vf default.vf -av .5 .5 .5 test.oct
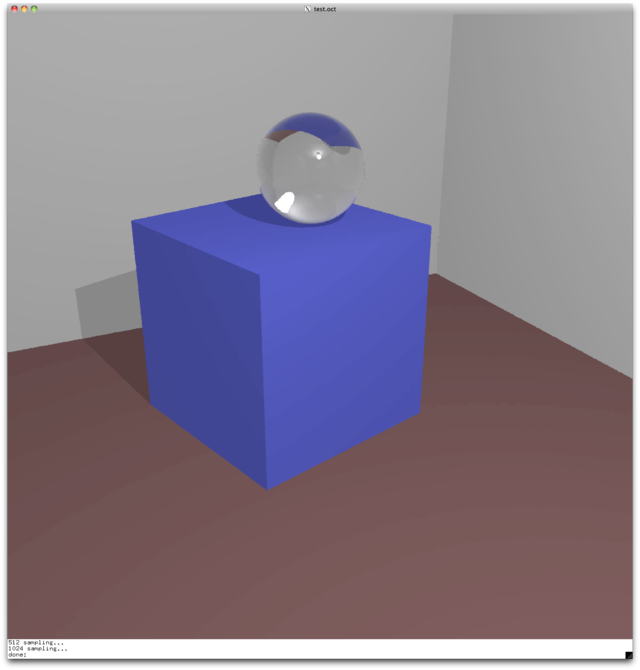
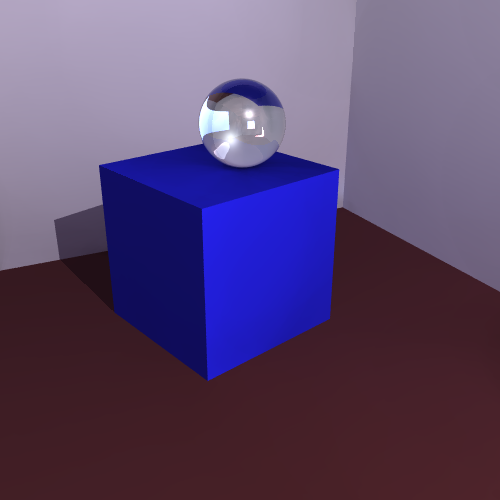
After adding a window by cutting a whole into one of the walls of the outer box the tutorial describes how to use the special-purpose generator gensky. It also defines a window material which lets sun light into the room (see bright spot on the floor):
% gensky 3 20 10 -a 40 -o 98 -m 105 > sky.rad
% oconv sky.rad outside.rad window.rad room.rad > test.oct
% rview -vf default.vf -av .5 .5 .5 test.oct
But beside the visibility of the window and the sun light cast on the floor within the glass sphere the picture looks still pretty much the same. We need to modify the rendering commands to use another description of the window's glass material, which actually makes it act like a secondary light source.
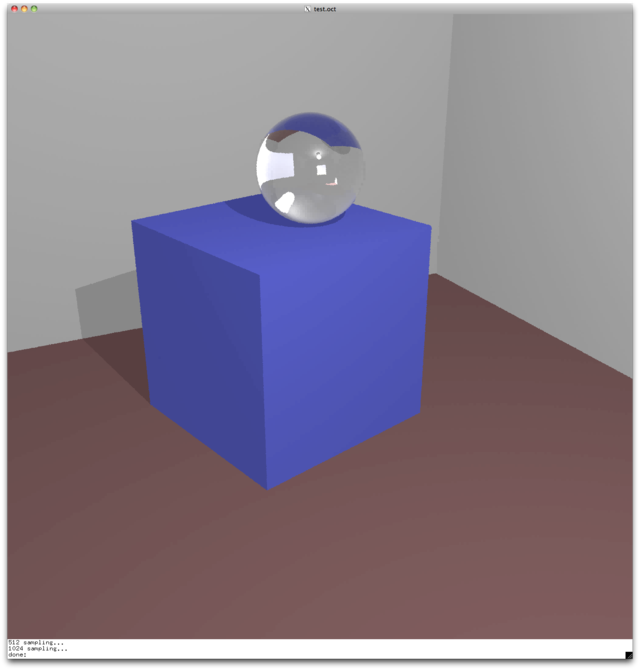
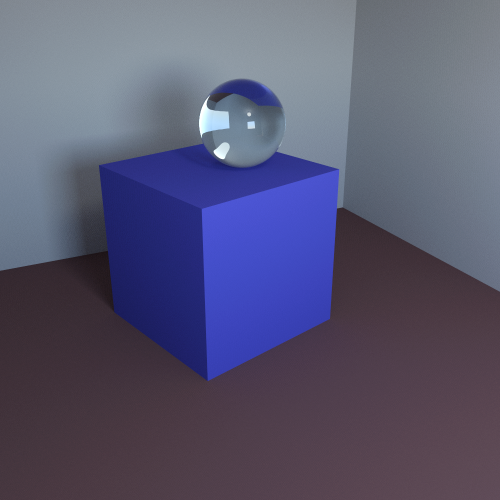
% oconv sky.rad outside.rad srcwindow.rad room.rad > test.oct
% rview -vf default.vf -av .5 .5 .5 test.oct
Now we see some extra shadows cast on the wall and the sun light contributes to the illumination of the room.
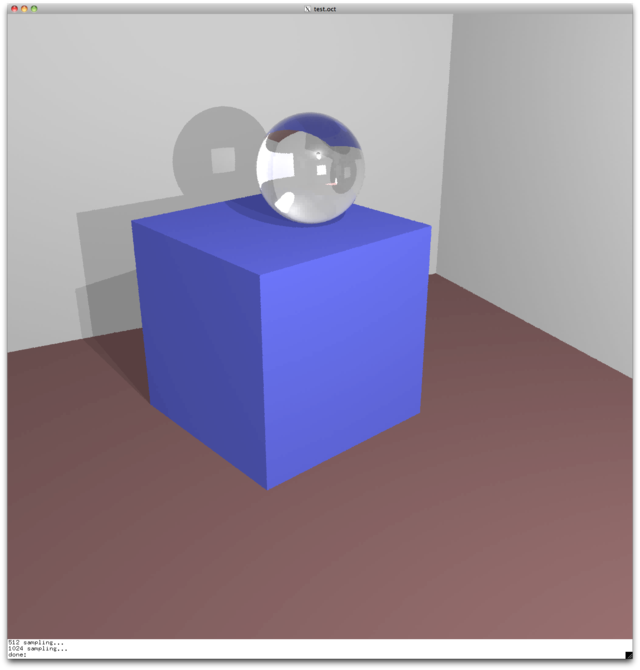
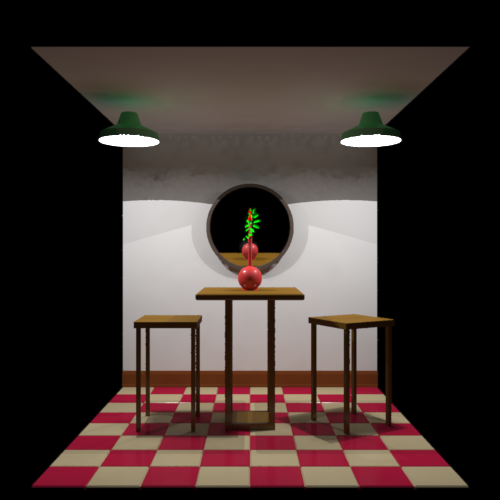
The rest of the tutorial is about how to automate the rendering process and adding a simple outdoor scene which should have an impact on the indoor scene. Here is the first command using an outside ground plane and a nearby building with one indirect bounce for the light coming through the window.
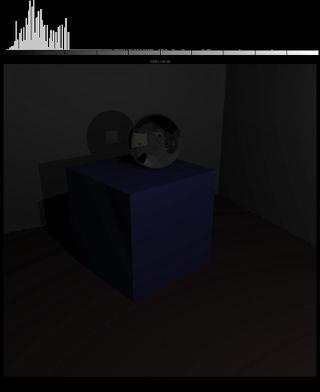
% rad -o x11 inter.rif

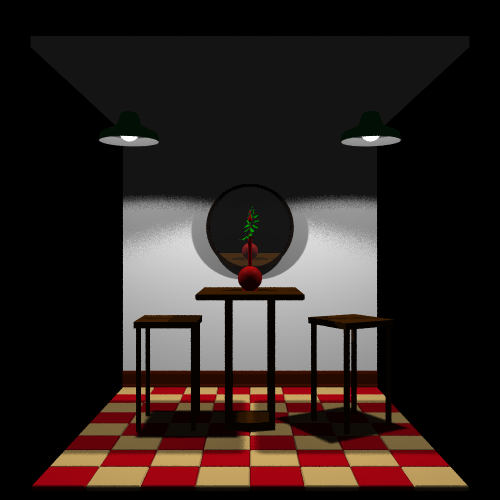
As you can see the shadows which do not come from the indoor spherical light source are much more diffuse, but the rendering time goes up a lot. To compensate for that there is another RIF file, which does not use interreflections but uses a program called mkillum "to create a modified window file that uses calculated data values to define its light output distribution."
% rad -o x11 illum.rif
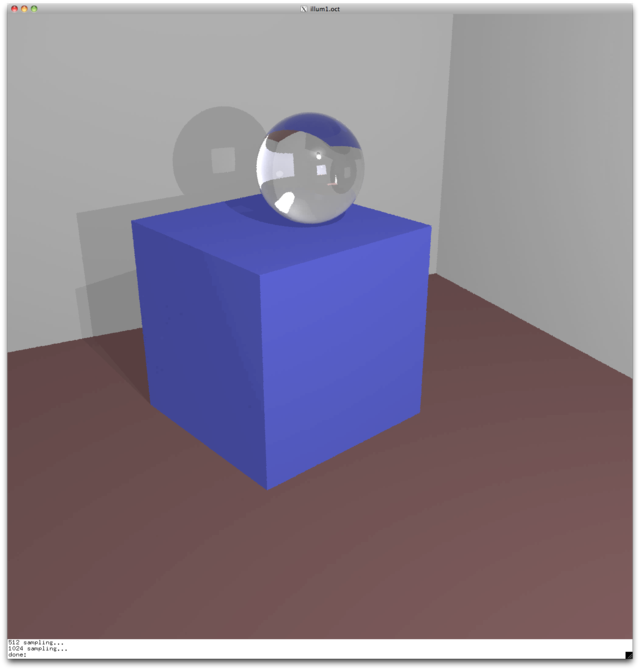
But this looks pretty similar to the result we had using no outdoor scene. So let's use mental images' imf_diff program to visualize the difference between those two images:
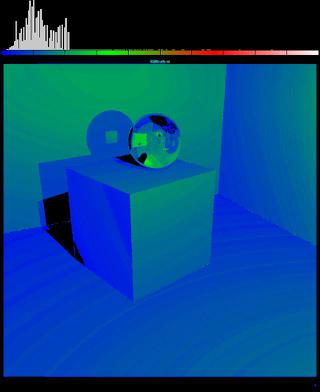
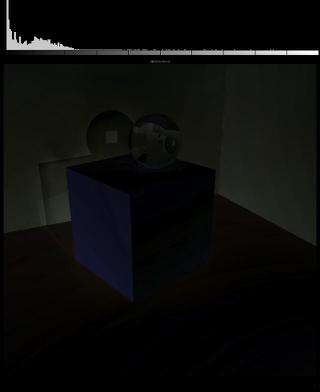
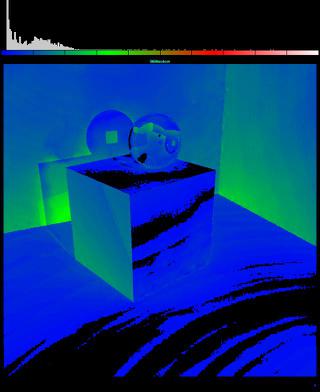
On the left side you see the difference in absolute color values (which is hard to see), on the right side there is a false color representation, where blue to green indicates only small differences, whereas red to white means huge differences (see histogram on top). Let's do the same for the diffuse shadows vs. the hard shadows created by the different RIF files:
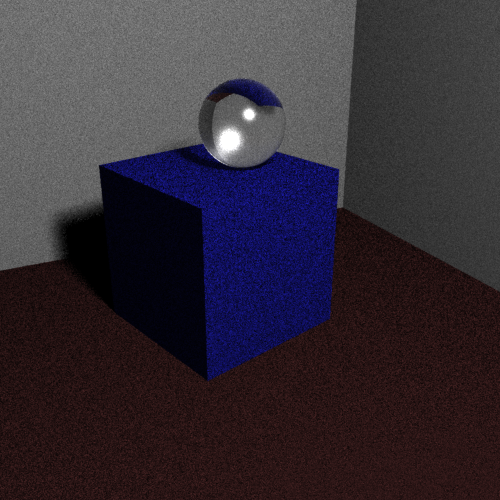
For convenience here is a little text file (called render_scene0_book.txt) which can be used to render all examples coming with chapter one from a shell by simple "sourcing" it. Simply save it in the scene0 folder you downloaded above (once you uncompressed and "un-tarred" the scene0.tar.Z file). It prints a single echo line what you can expect from the rendering (done with the interactive viewer rview):
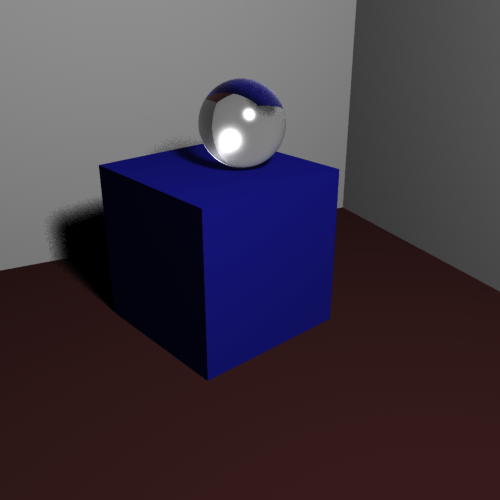
% source render_scene0_book.txtThere is another text file (called render_scene0_filt.txt)) which is used to re-render two images (one using inter.rif, the other using illum.rif) in higher resolution and scale them down, essentially filtering them to avoid aliasing.
% source render_scene0_filt.txt
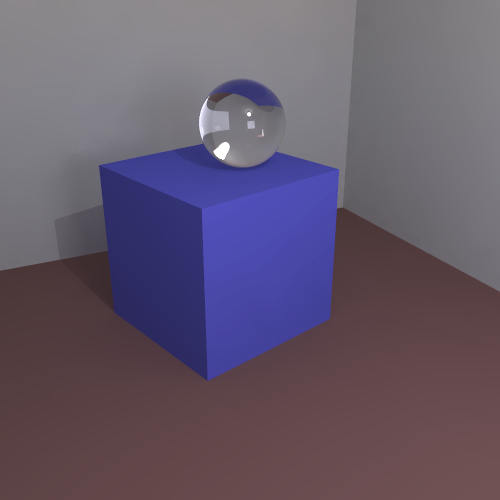
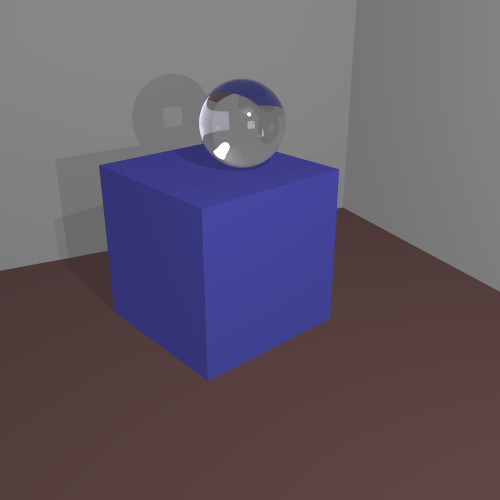
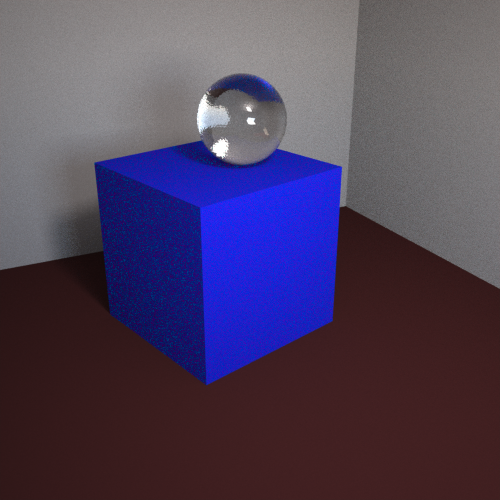
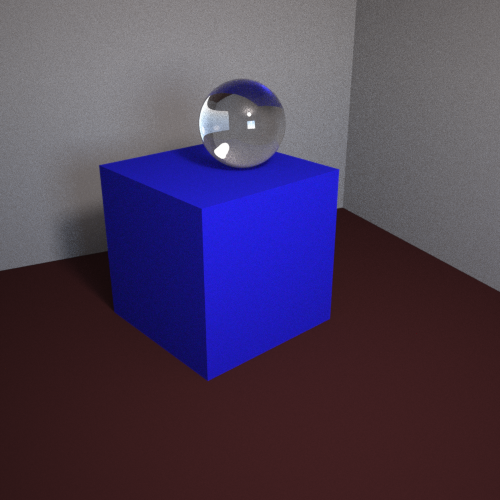
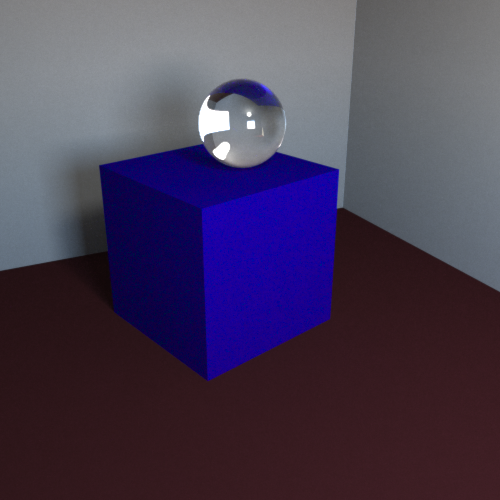
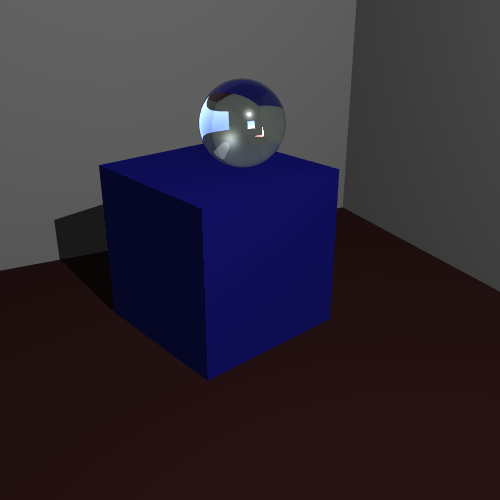
Here are the resulting images:


For longer rendering times it's handy to know that you can send the process into the background and ask on demand for a status report. First you use the ampersand to send the process to the background. Then you have to find out the process number of the rpict command (not the rad command). Once you got the process ID (PID) you can use the kill command with an option (to continue) to get a status report. For example:
% rad scene2n.rif &
% ps -ef | grep rpict
PID
$ kill -CONT PID