On the Blender web site you will find some demo files. One of them is a classroom scene by Christophe Seux and looks like this:
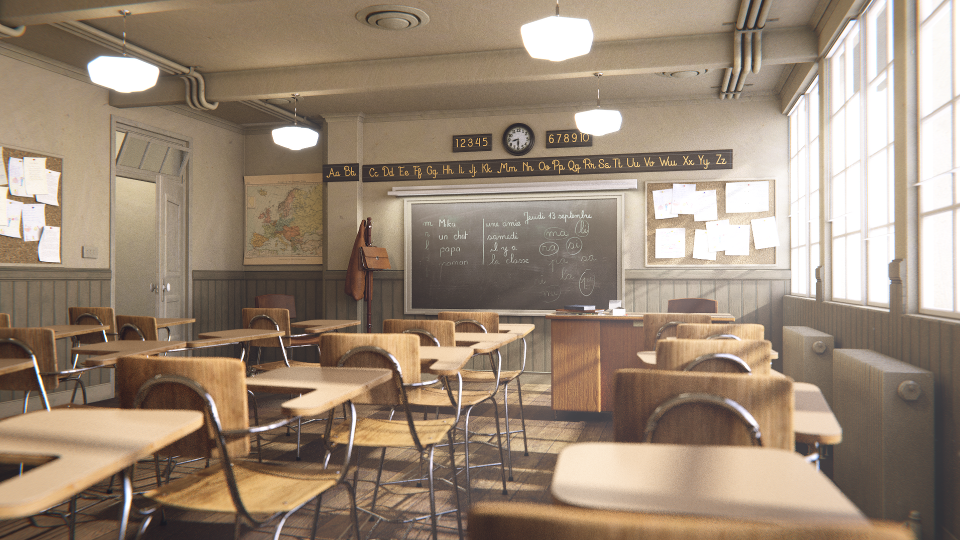
I’m in the process of changing the scene a bit to be able to use my own exporter and render with various renderers (from the same Blender scene). The current state of the classroom scene can be seen here (rendered by Indigo):
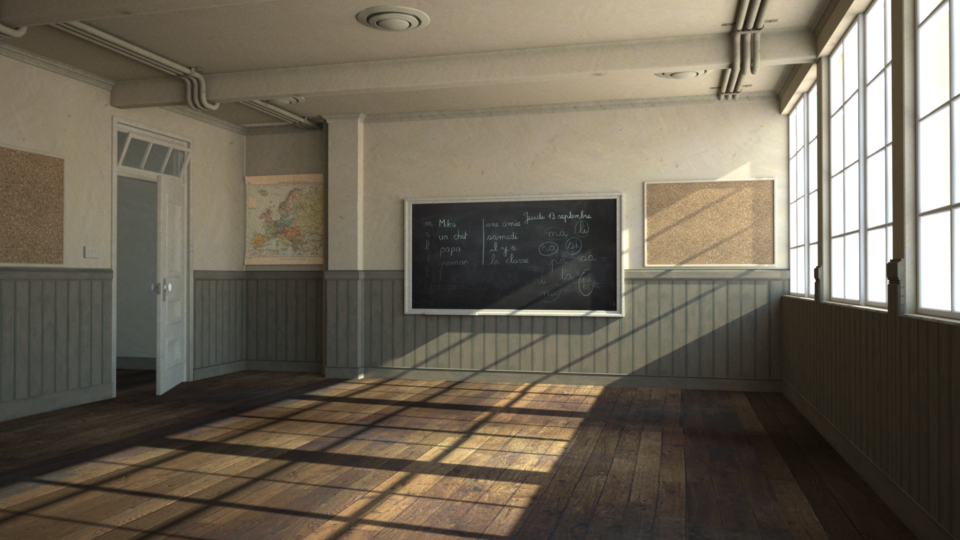
If you turn the light layer for the sky off, so only the sun is illuminating the scene, the result will look like this:

I modified the latest Blender release a bit so that my local executable dumps a binary file to disk with triangle information while you start rendering with Cycles, Blender’s global illumination renderer. As an exercise to learn the new programming language Rust I parse the binary file and convert the triangle information to the Radiance file format. Right now I don’t deal with materials, but I easily can make some triangles emit light or setup a sun and sky simulation for Radiance:
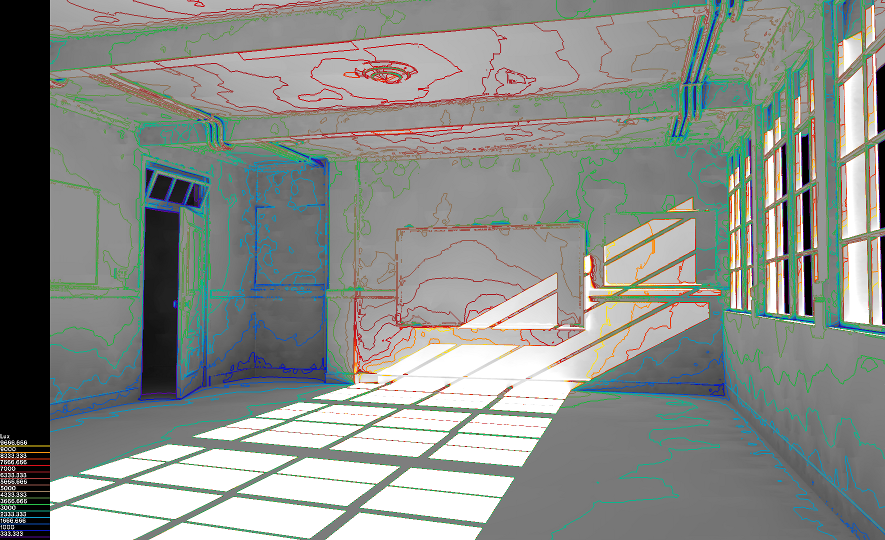
All I want to talk about in this blog is how that scene can be used to create a falsecolor image via Radiance:
First of all you need kind of a makefile for Radiance, called classroom.rif, which I created by hand:
ZONE= I -5.7 4.55 -4.8 3.6 -.1 3.2
scene= classroom.rad
scene= classroom_gensky.rad
VAR= L
DET= H
QUAL= H
AMB= classroom.amb
INDIRECT= 1
view= -vp 2.57252 -4.45 1.095 -vd -1.92564 7.70325 0.32097 -vh 65.238
RESOLUTION= 1920 1080
The first line describes a bounding box for the scene and tells the renderer that it’s an interior scene (via the capitalized I before the x-, y-, and z-dimensions). The classroom.rad file was created via my Rust program. The classroom_gensky.rad file I created via a command line tool called gensky:
gensky -ang 28.8 -84.5The camera view point (-vp), direction (-vd), and horizontal field of view (-vh) can be calculated from the Blender camera.
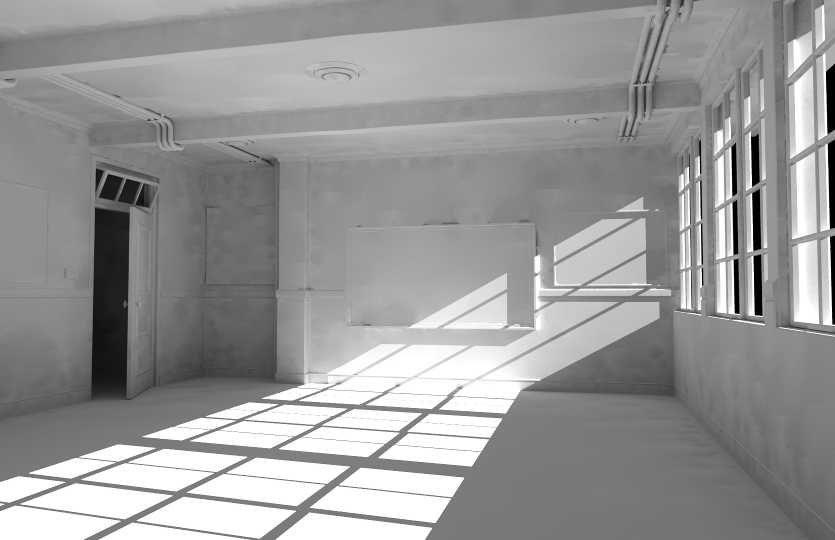
The first Radiance image (without the falsecolor contour lines) can be rendered with the first two lines of the following command lines:
rad -n classroom.rif > classroom.sh
sh classroom.sh
# see second rpict line in classroom.sh
rpict -vp ... -i classroom.oct > classroom_irr.unf
pfilt -m .25 -x /3 -y /3 classroom_irr.unf > classroom_irr.hdr
falsecolor -i classroom_irr.hdr -p classroom_1.hdr -cl -n 15 -s 10000 -l Lux > classroom_lux.hdr
The rpict line is a modified version of the one found in classroom.sh and basically renames the output file to classroom_irr.unf. But it also specifies one extra parameter -i, which makes Radiance compute irradiance rather than radiance values, as can be found in the documentation. The falsecolor command finally combines the two images (with irradiance and radiance values) into a single HDR (high dynamic range) file, providing a legend via the -l option in a range from 0 to 10000 Lux. The −cl option asks for contour lines, and the −n option can be used to change the number of contour lines.
All files needed to render with Radiance can be downloaded from here or from the download section, where things get updated and marked by the date.
